
Just a few years ago, it would have cost thousands of dollars to buy a 3D printer. 3D printers now range in price from a few thousand to a couple hundred dollars making them much more affordable to the masses. The evolution of 3D printers has been quite remarkable and it doesn’t look like adoption will be slowing anytime soon. With the price for a 3D printer finally under a couple thousand, I decided it wouldn’t be breaking the bank to buy my own printer to experiment with. Since getting my printer a little over a month ago, I have had a lot of fun learning how to use the printer and experimenting with different designs. This is the first post of a two-part series on building and using my first 3D printer.
Picking a 3D Printer
I began my search for a 3D printer when I started the 3D Printers A-Z list of popular 3D printers currently on the market. My research began with probably the most well-known printer currently on the market, the MakerBot Replicator 2. The advantage of the MakerBot is that it is a well-established player in the consumer 3D printer market and doesn’t look to be going anywhere anytime soon. I prefer not to be a first adopter, since you run the risk of buying a product that is never updated. MakerBot has been good about providing firmware updates for their printer and software, including a recent update to the MakerWare software that decreased the plastic needed for printing support material.
The next printer I considered was the Form 1 from Formlabs. Unlike the MakerBot Replicator that extrudes plastic, the Form 1 uses stereolithography, a technology used by very high-end 3D printers. As of the time of purchasing my 3D printer, the Form 1 had just started shipping to Kickstarter backers and the reviews were positive. The thing holding me back was the relative high price tag of $3,299. For the purpose of my own experimentation, the Form 1 was too pricey. In addition, it is currently only up for pre-order with a ship date in October.
As I delved further into the world of 3D printing and the current options on the market, I came across the wiki for the RepRap, an open-source 3D printer first started by Adrian Bowyer. I was surprised by the huge community and the wealth of information about building the printer yourself. While I was not originally thinking of building a 3D printer myself, the idea seemed to take hold, since it would be an opportunity to really learn how the 3D printer operates. I did some further research about the different models and decided to go with the most common model, the Prusa Mendel. I read through the visual assembly manual, which was straightforward and gave me the confidence I needed to build the printer. At a fraction of the cost of the other printers on the market, I decided to build the RepRap Prusa as a summer project.
The nice thing about the RepRap is that even if you aren’t comfortable building your own printer, you can buy the printer pre-made for under a $1,000. The RepRap wiki provides a page entirely dedicated to different suppliers. While I felt comfortable building the printer myself, I was hesitant to go about acquiring all the parts on my own. I decided the best route would be to buy a kit of the parts. After going through the list of suppliers, I decided to go with a DIY Class Prusa ($595) from 3Dstuffmaker based in Australia. The kit shipped promptly from India and I received it about a week and half after placing my order.
Building the Printer
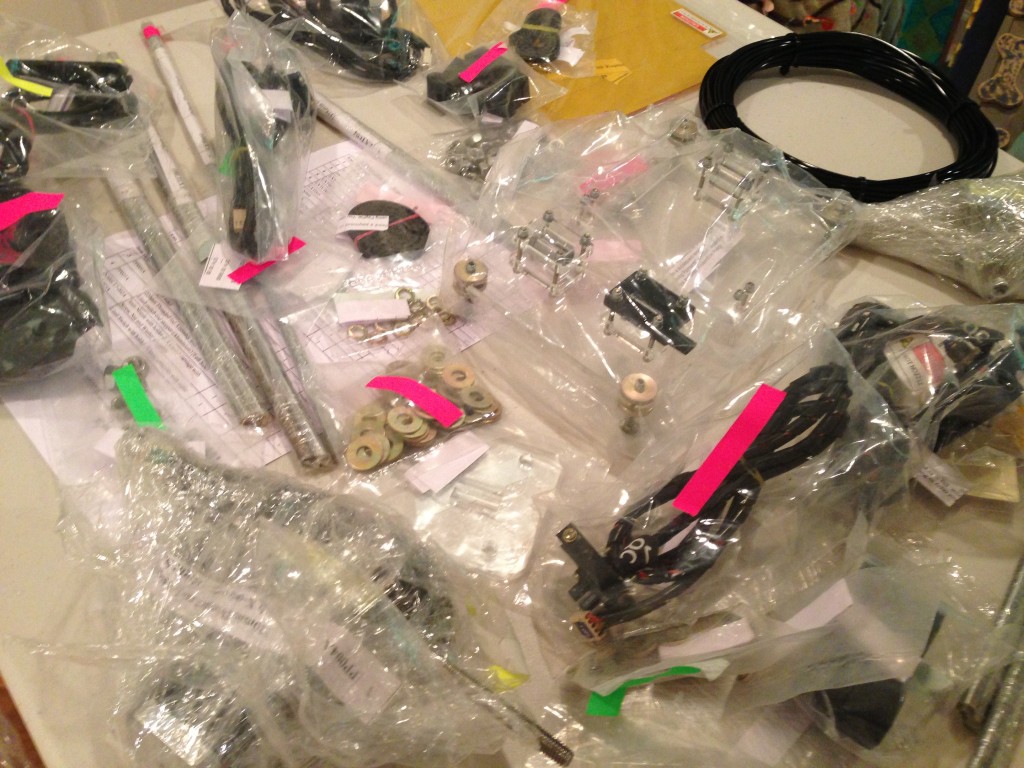
The first step was to unbox all the parts. The printer is made up of quite a few metal rods, washers, nuts and bolts. The kit came with a manual, which outlined step-by-step directions for putting together the printer.
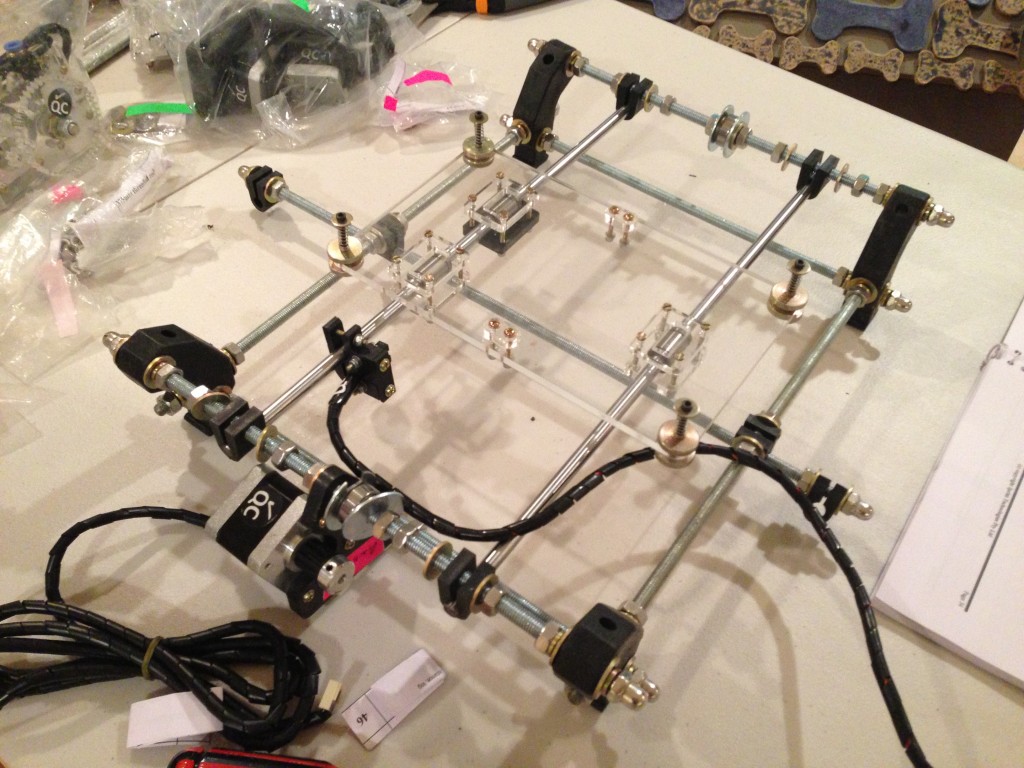
The assembly begins with the base of the printer. You have to be careful about placing all the washers and bolts in the right order. Part of the base is the motor that moves the printing plate vertically.
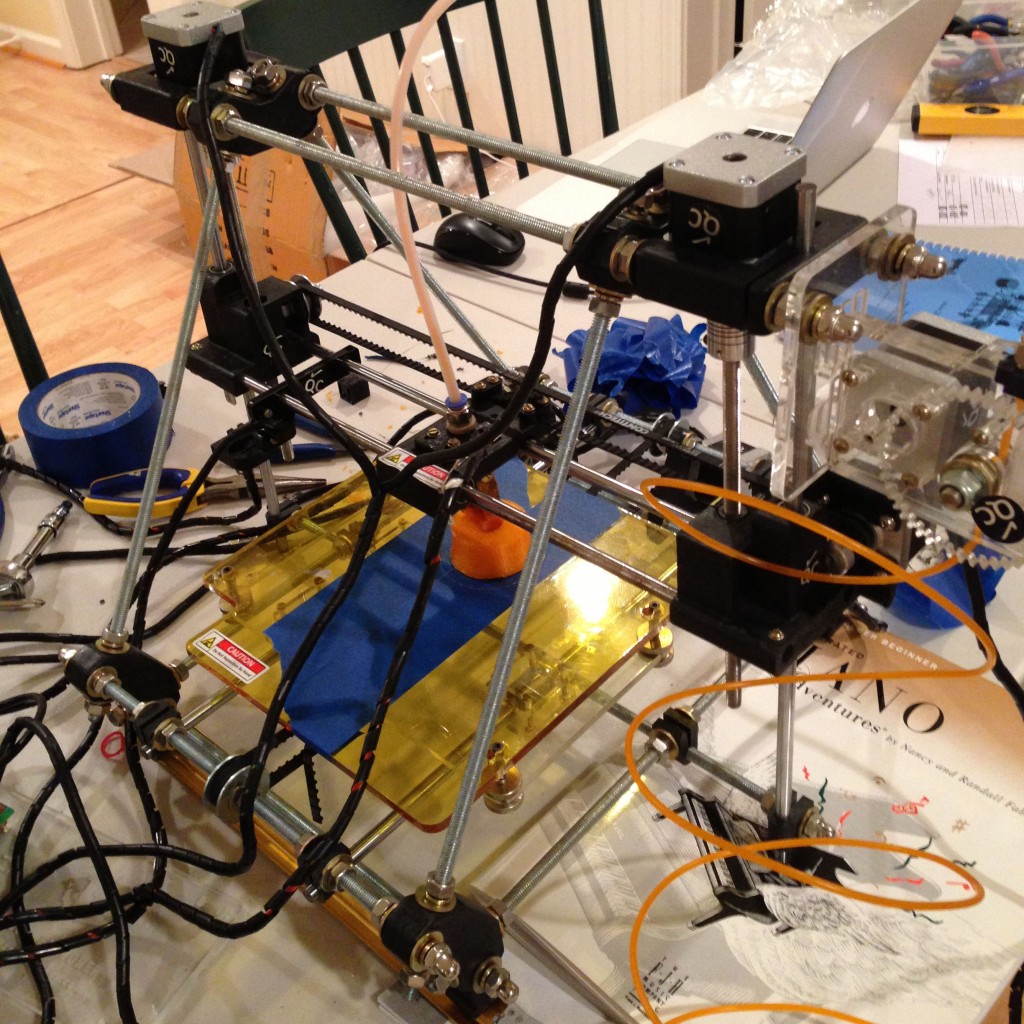
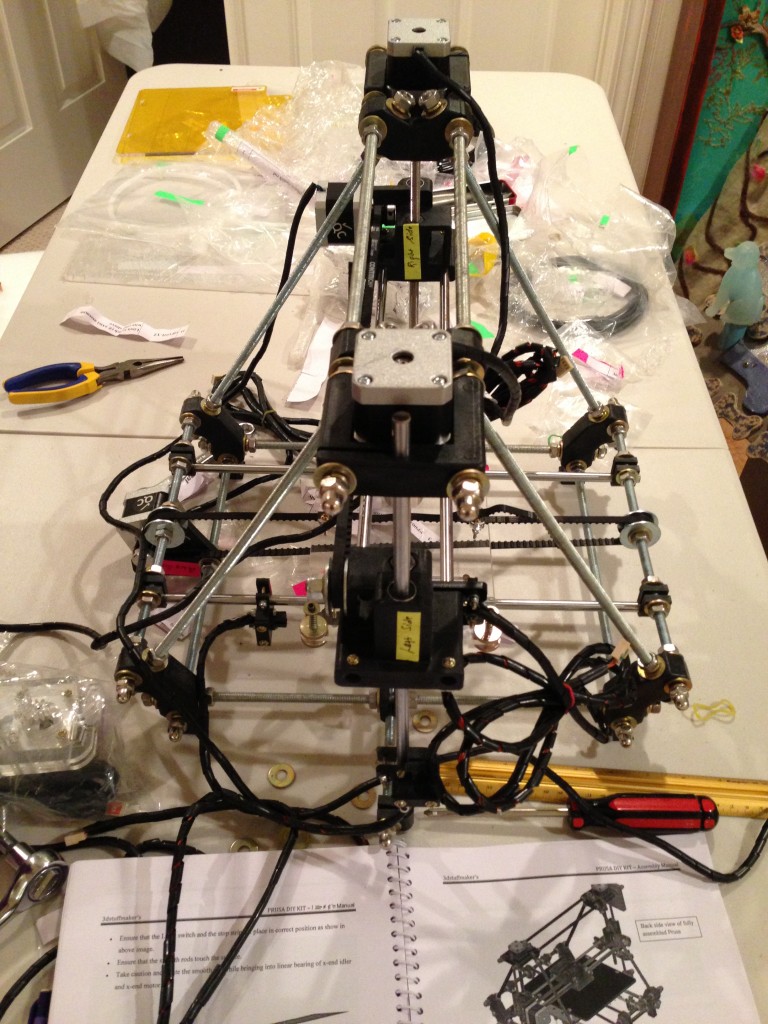
The rest of the directions were pretty straightforward. After putting together the top of the printer, the final step was pluggin in the motors to the motherboard and attaching the power plug (not included in the kit). While I thought it would take a couple days to put together, I had the printer completed within a couple of hours. The next step was installing the software onto my computer and seeing if it actually worked.
To my surprise, after a little fiddling with the USB port settings, I was able to use the software to move the extrusion head and printing plate. The next step was actually printing something with the printer. The next blog post of this two-part series will cover my printing experience over the past month since building my RepRap Prusa.